Adding Services, Skills, and Profile Info
How to complete your provider profile in the MarketBox mobile app and desktop site
Using the Provider Mobile App
- Log in to your Provider account.
- You will be directed to the My Profile screen. Here you can update your Name and Phone Number.
- Click on the Services button to indicate which services you provide.
- Click on the Skills button to indicate which skills you have.
- If you would like to draw a travel zone, make sure the Draw Travel Zones switch is toggled On. We’ll go over how to add drawn and circular travel zones in a later article.
- Press Save.
- Go to the bottom navigation bar and click Public Profile.
- Here you can add a Bio and Upload a Photo.
- Press Save.
You should then add Travel Zones so you can set your schedule.
Using the Desktop Site
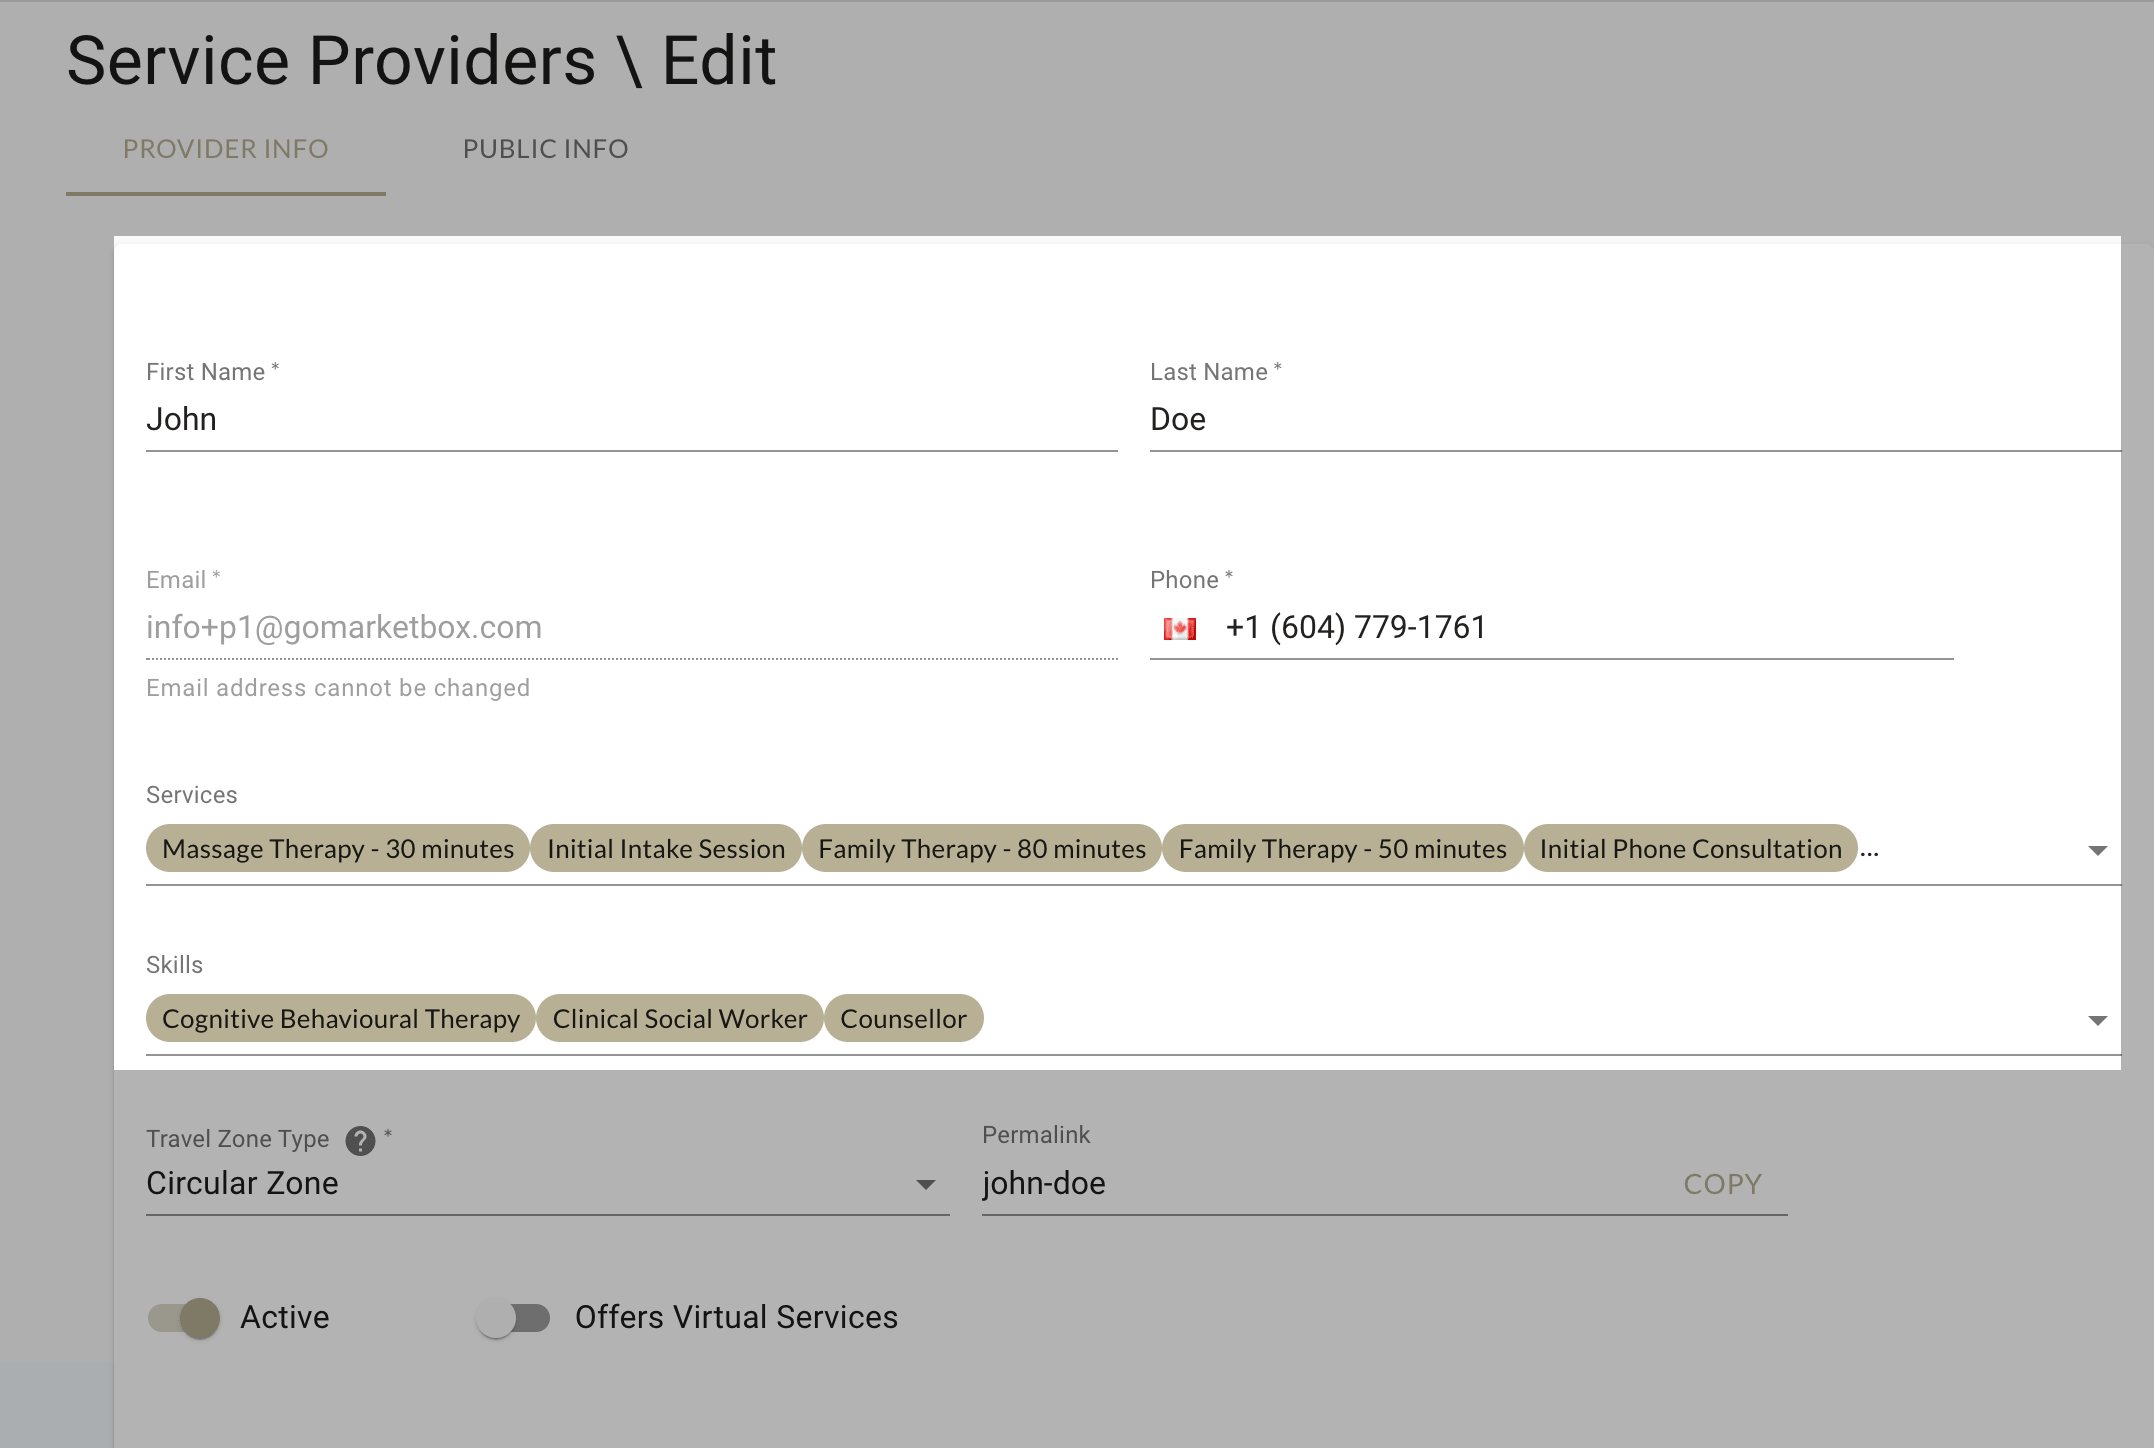
1. Log in to your Provider account and navigate to your Profile.
2. Add your Name, Phone Number, Services, and Skills.

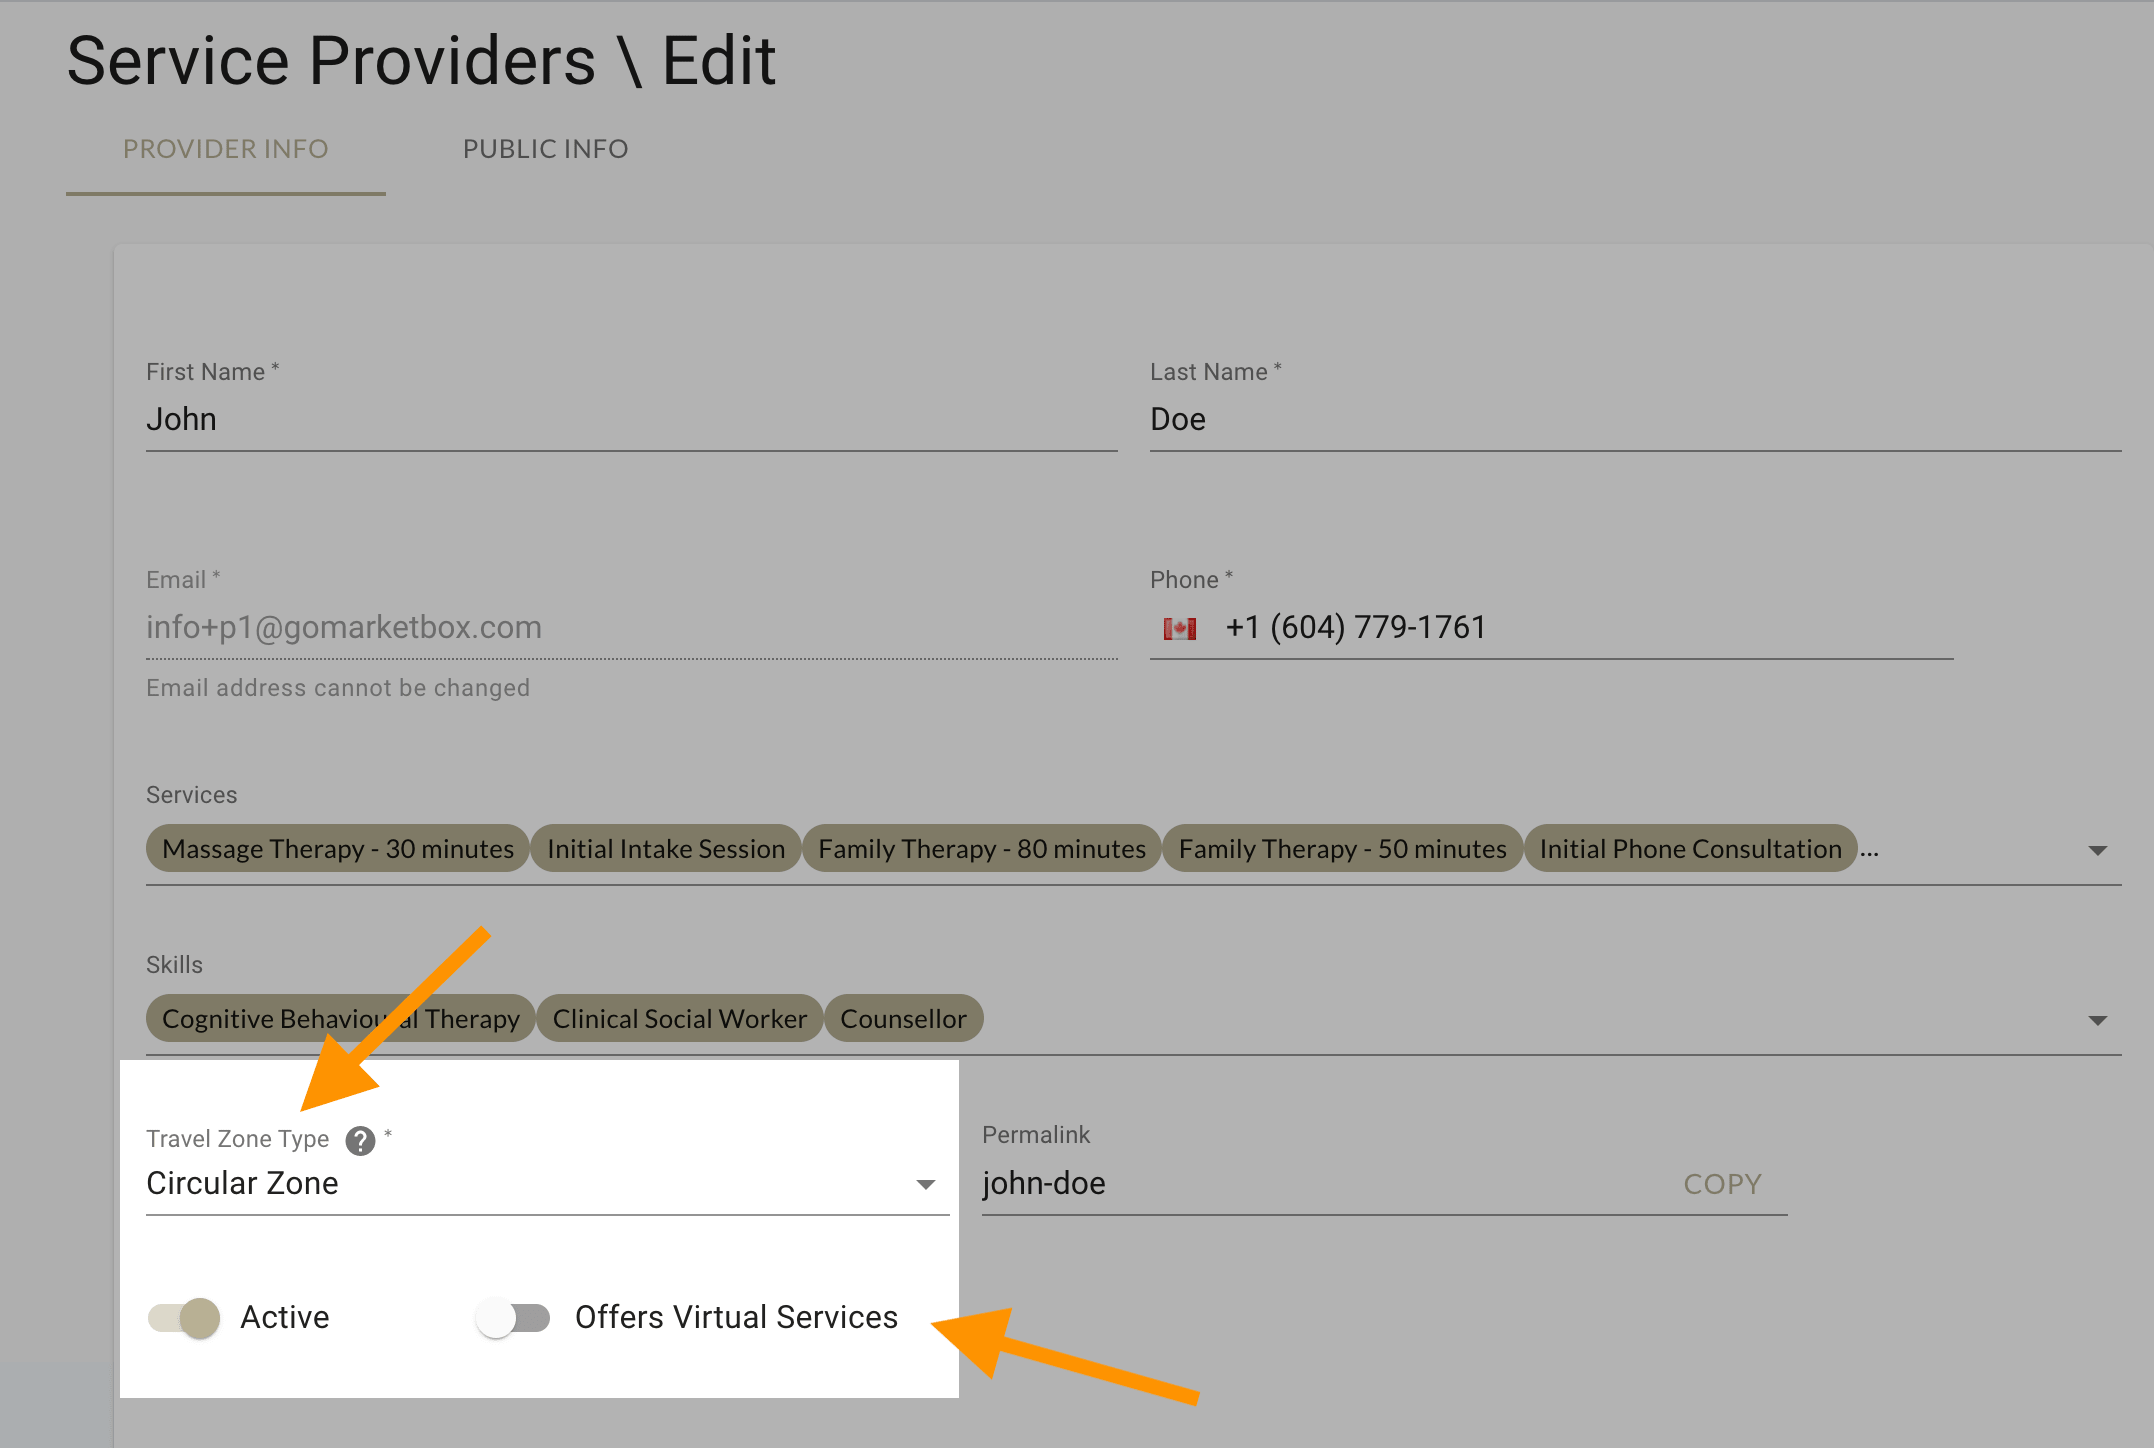
3. Indicate your Travel Zone Type (learn how to add a travel zone) and whether you offer Virtual Services.

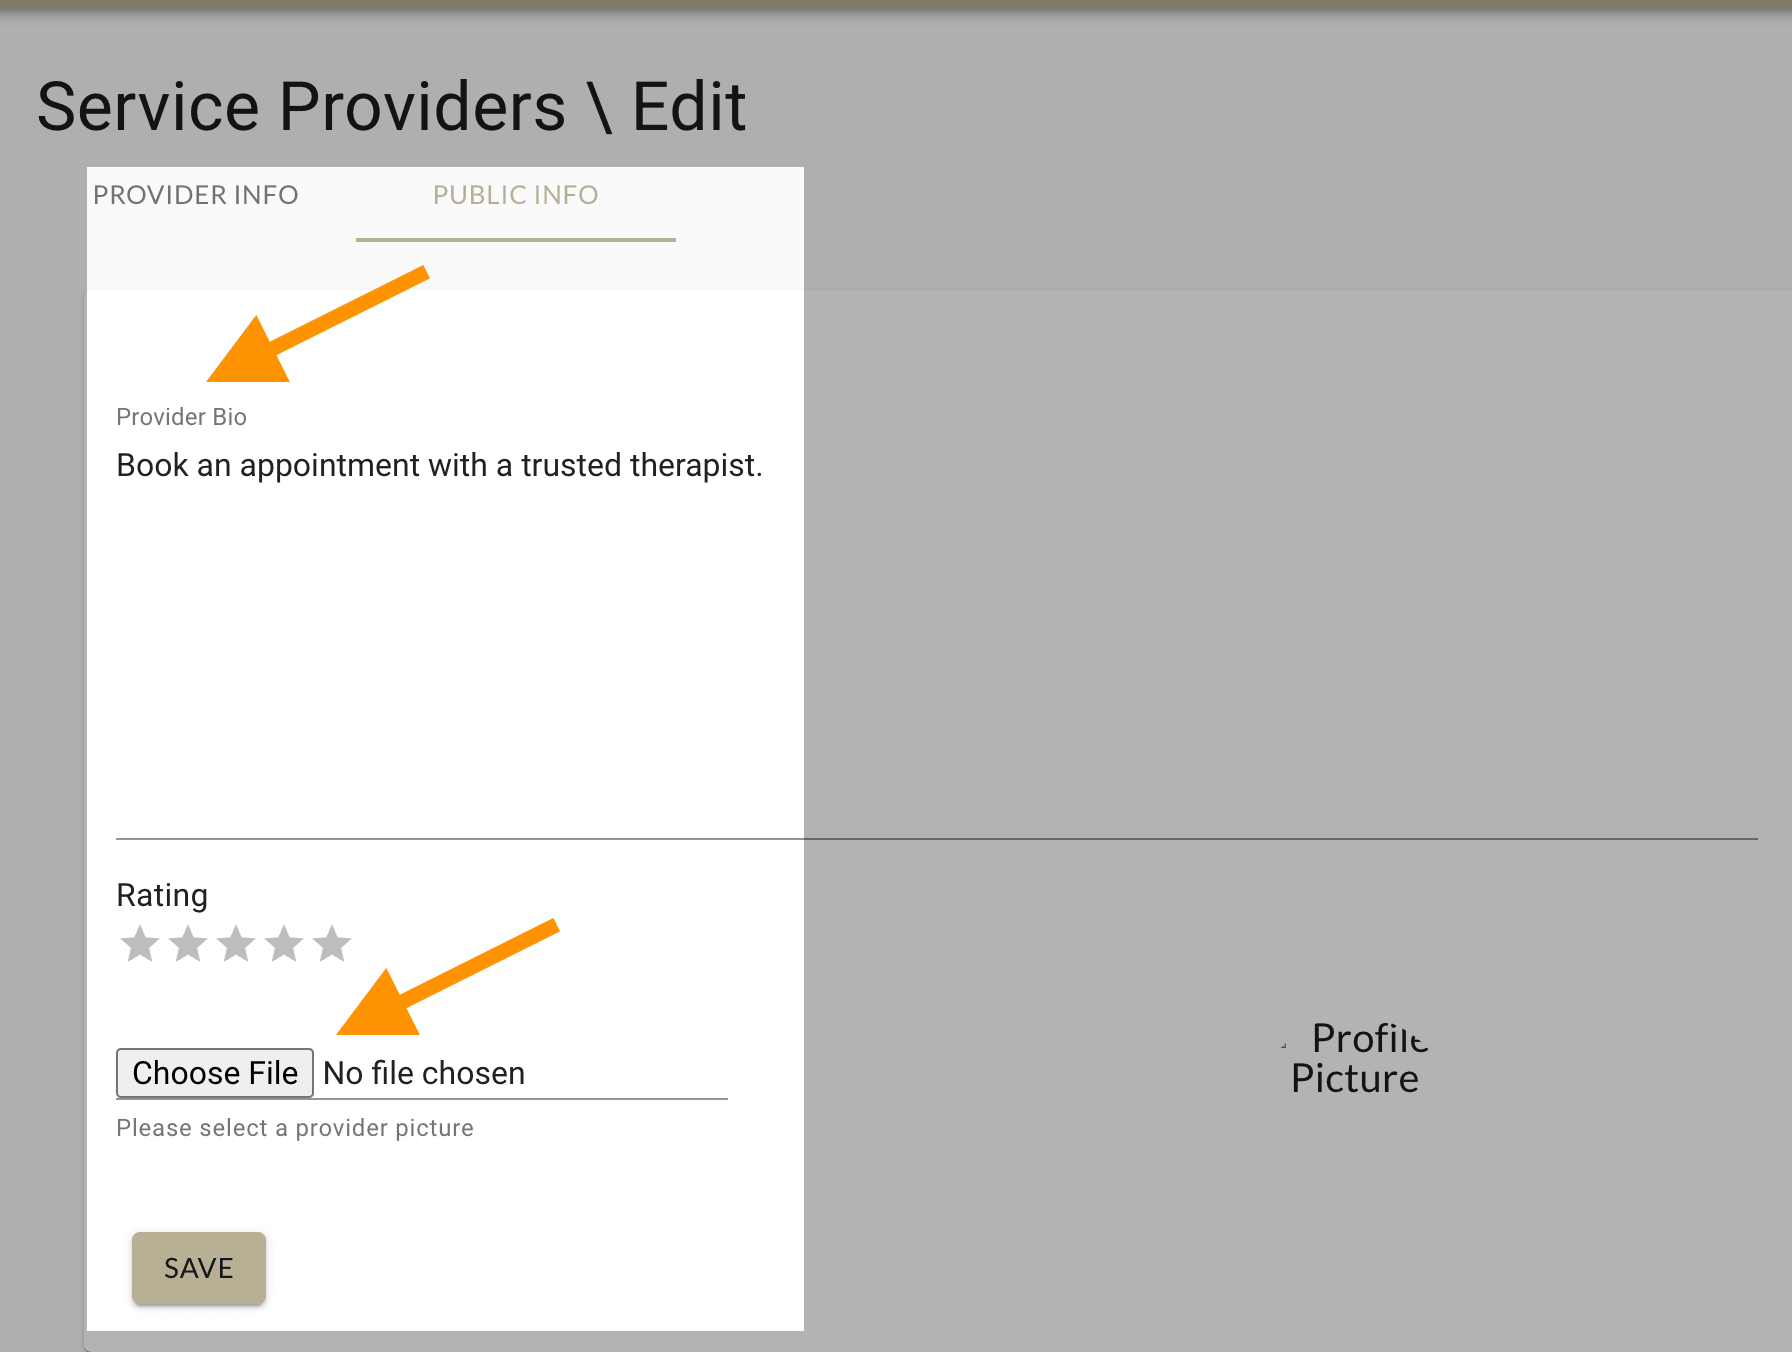
4. Navigate to the Public Info tab and add a Bio and Profile Picture.

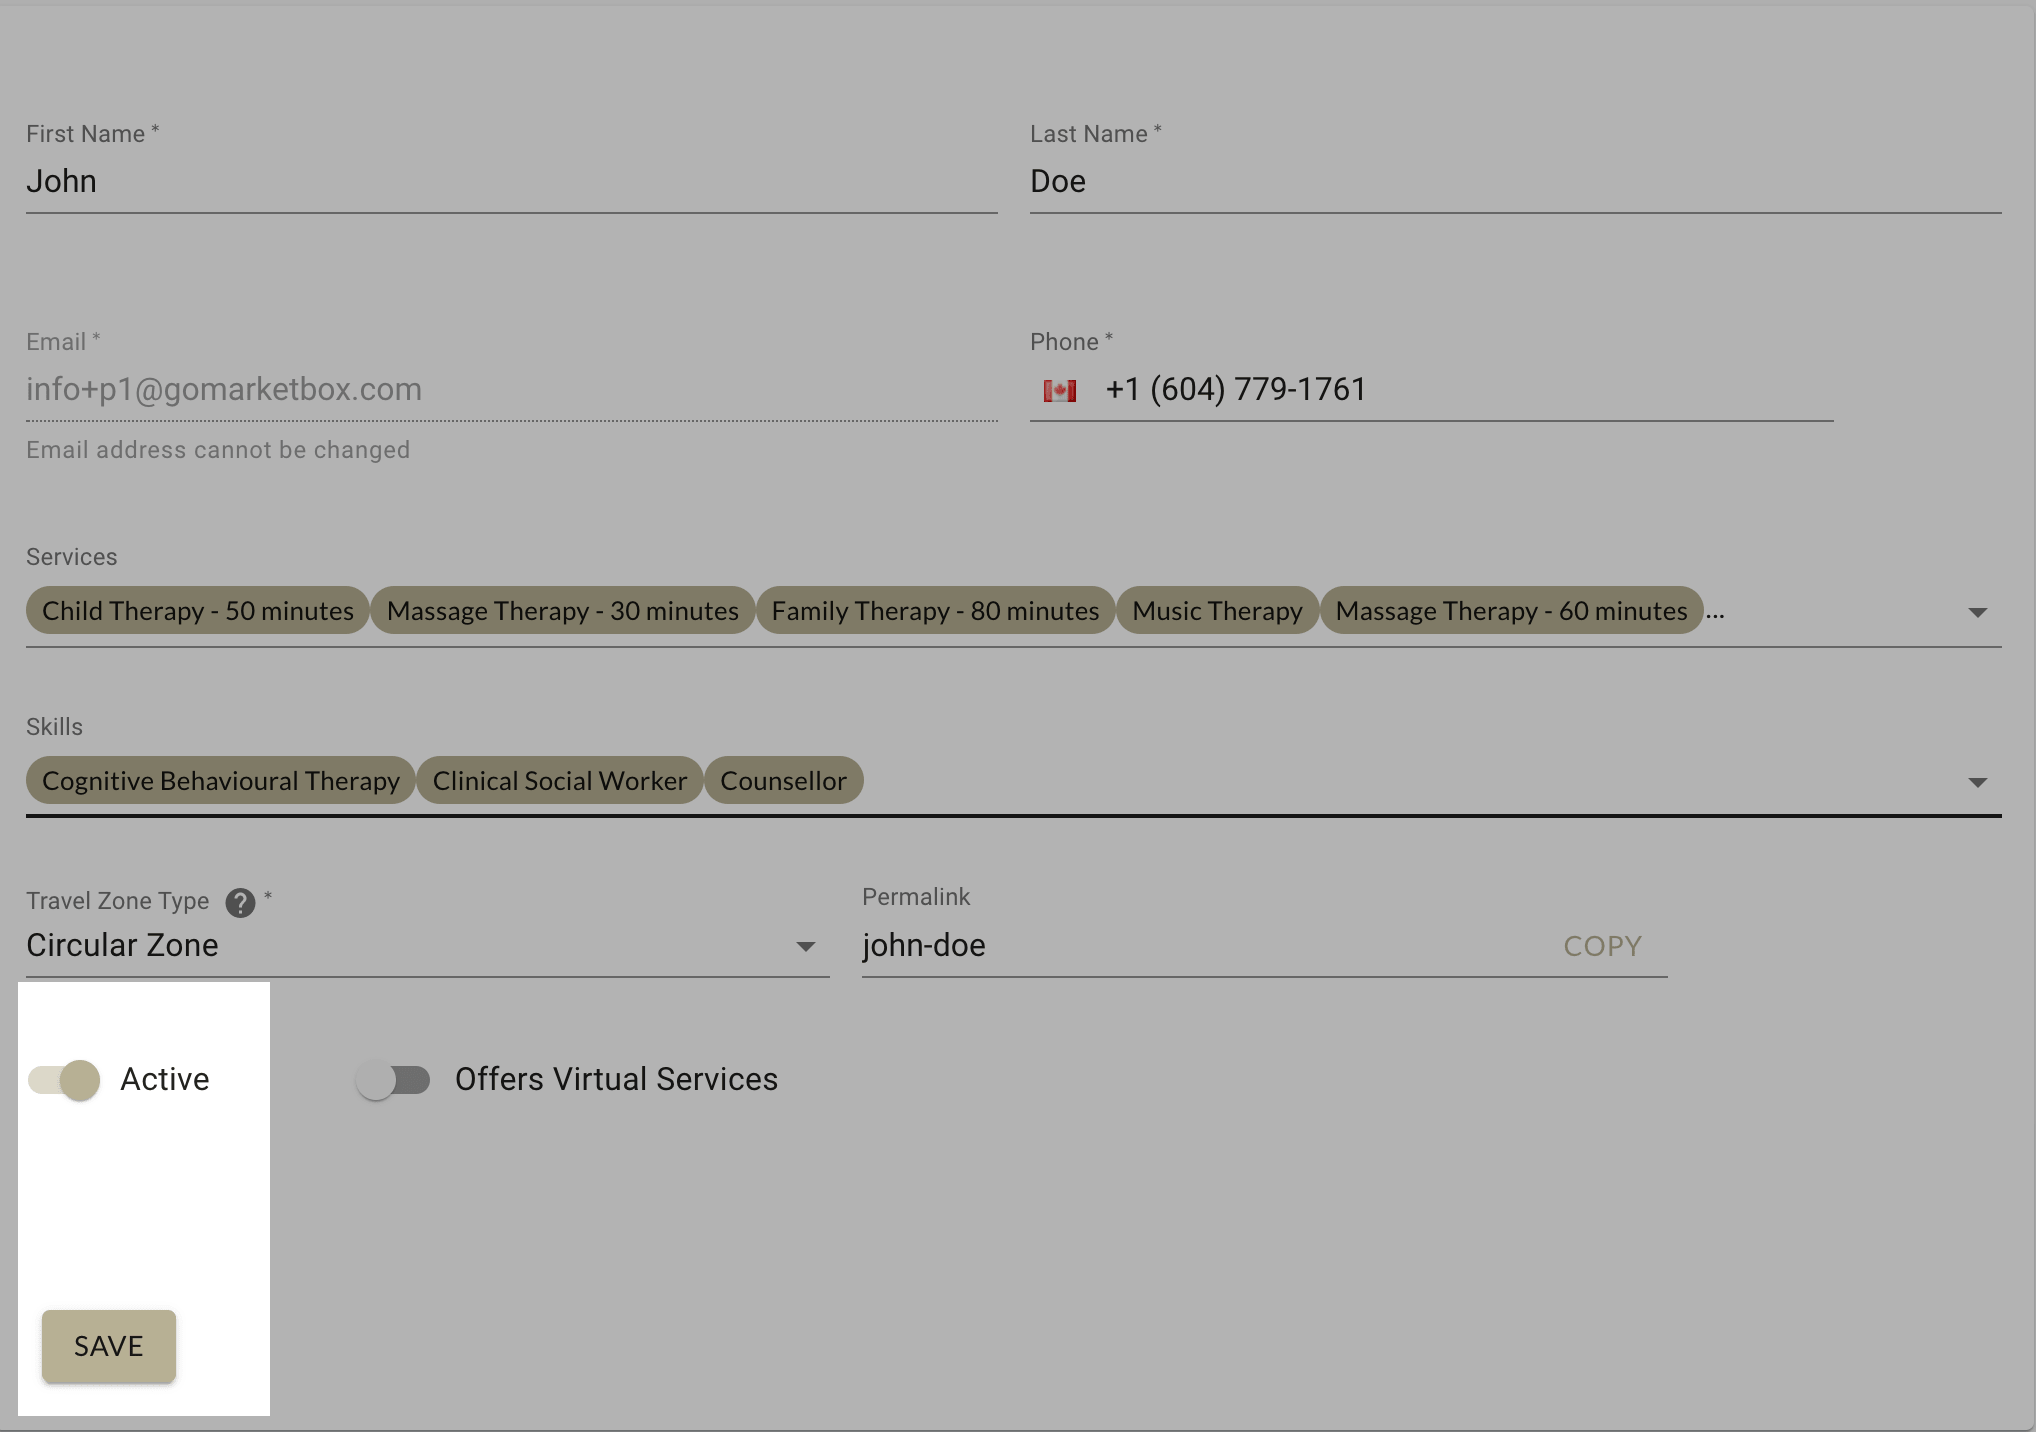
5. Ensure the Active switch is toggled On and hit Save.

You should then add travel zones.
