Adding Providers
How to add a service provider to your company's roster
There are two ways to add a provider:
Method 1) Through the Users section
Adding via the Users section first will send the Provider an email with login credentials and automatically create a profile for them under the Providers section.
Method 2) Through the providers section
Adding via the Providers section first means that you will have to add them later as a User in order for them to receive login credentials.
2 Methods of how to add a provider
Method 1) Add a provider via the Users section
1. Go to Users in the left-hand navigation bar. Select Add User at the top right of the page.
-min.png)
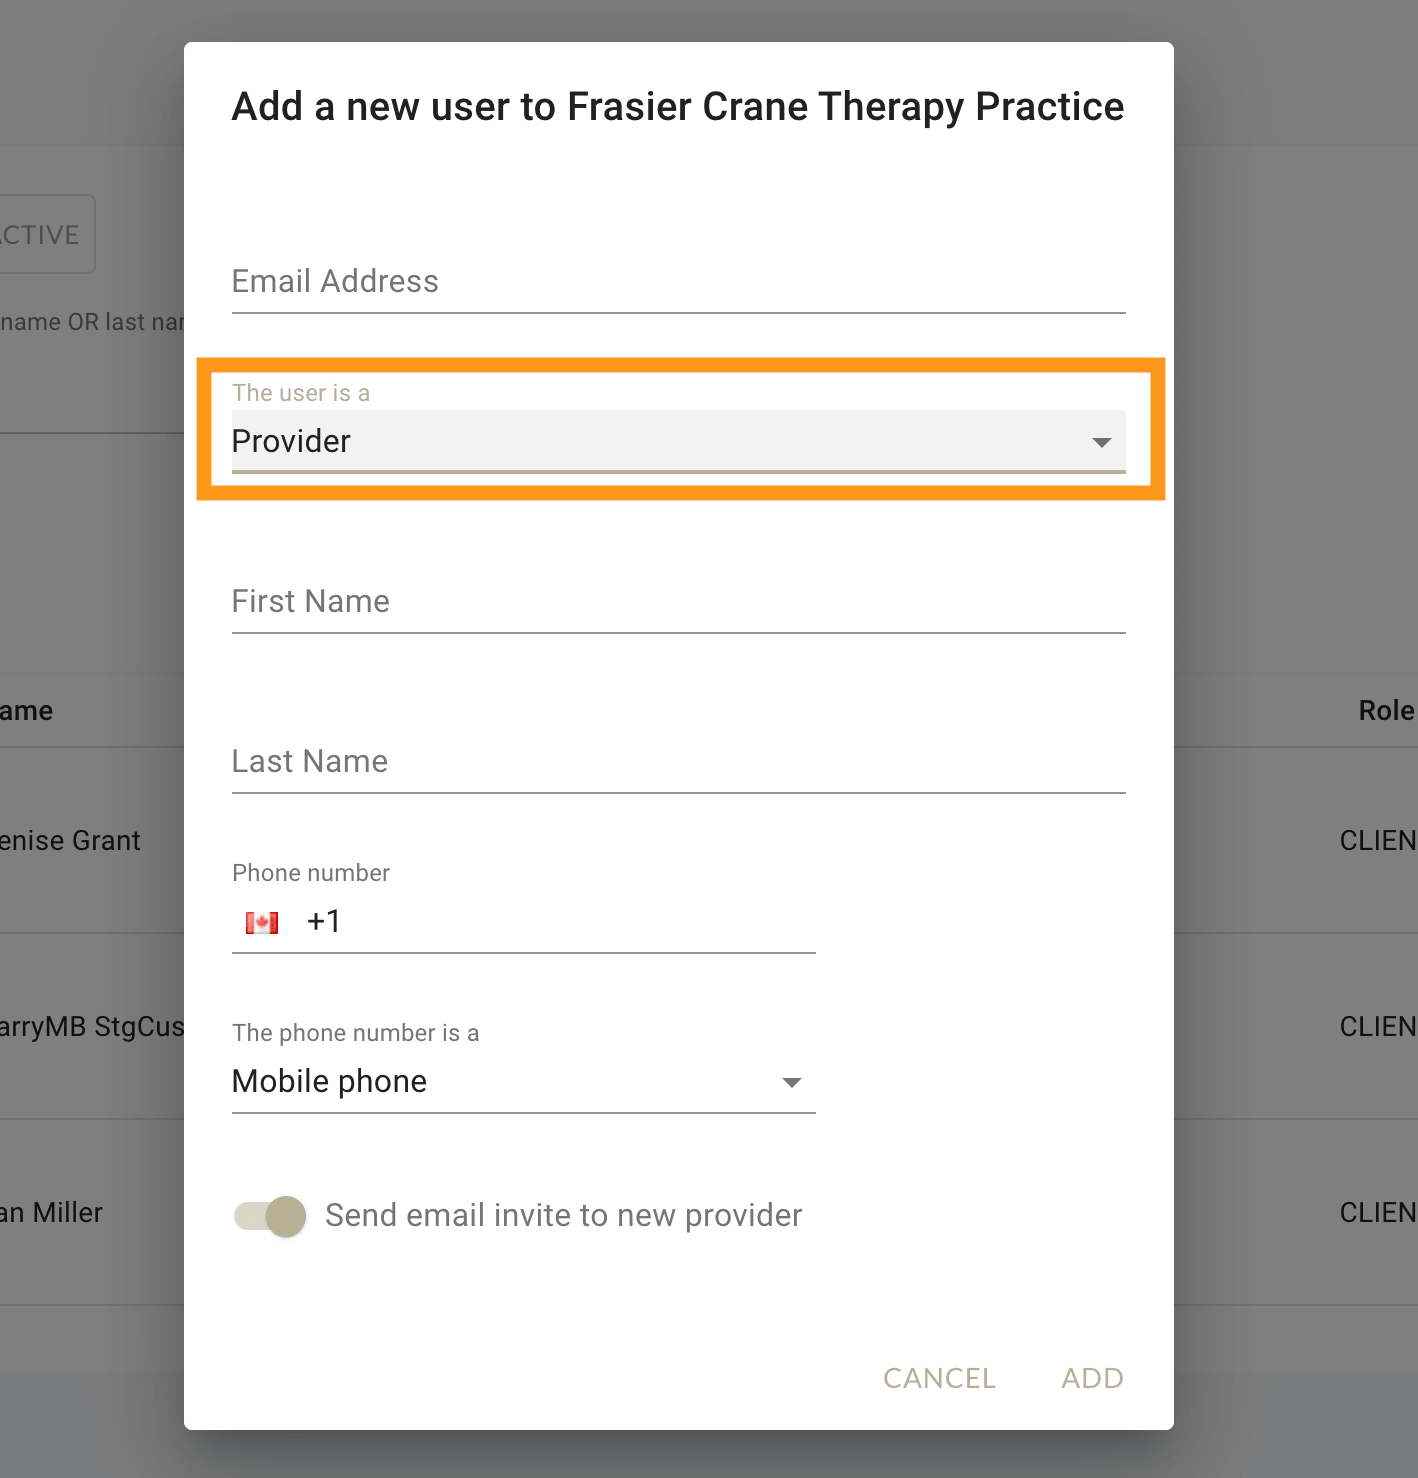
2. Fill in the email address. The email must be unique within the MarketBox system.
3. Select Provider in the User role drop-down.
When you do, you will see an information message saying that a Provider Profile record will be created for this user. This message is normal.

4. Fill in the remaining fields for first name, last name, and phone number.
We highly recommend entering a mobile phone number for each provider as there are several communication features of the MarketBox platform that can be configured to work with a mobile device.
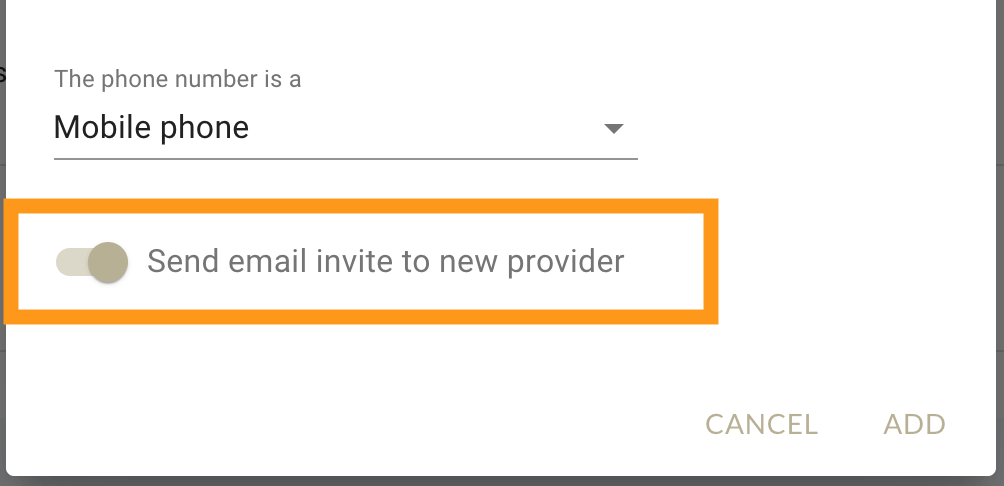
5. Ensure the 'Send email invite to new provider' switch is set On.

The Admin user who creates the User will also receive a copy of the Welcome email for reference.
6. Press the Add button when all the fields are completed.
Result:
At this point, the Provider's Login account will be created and a Welcome email and SMS will be sent with a temporary password.
In addition, a Provider Profile will be created.
The Provider then needs to use the Welcome email to log in to the site, reset their password, complete their User Profile by adding their address. They can then complete their Provider Profile.
Add Provider Details
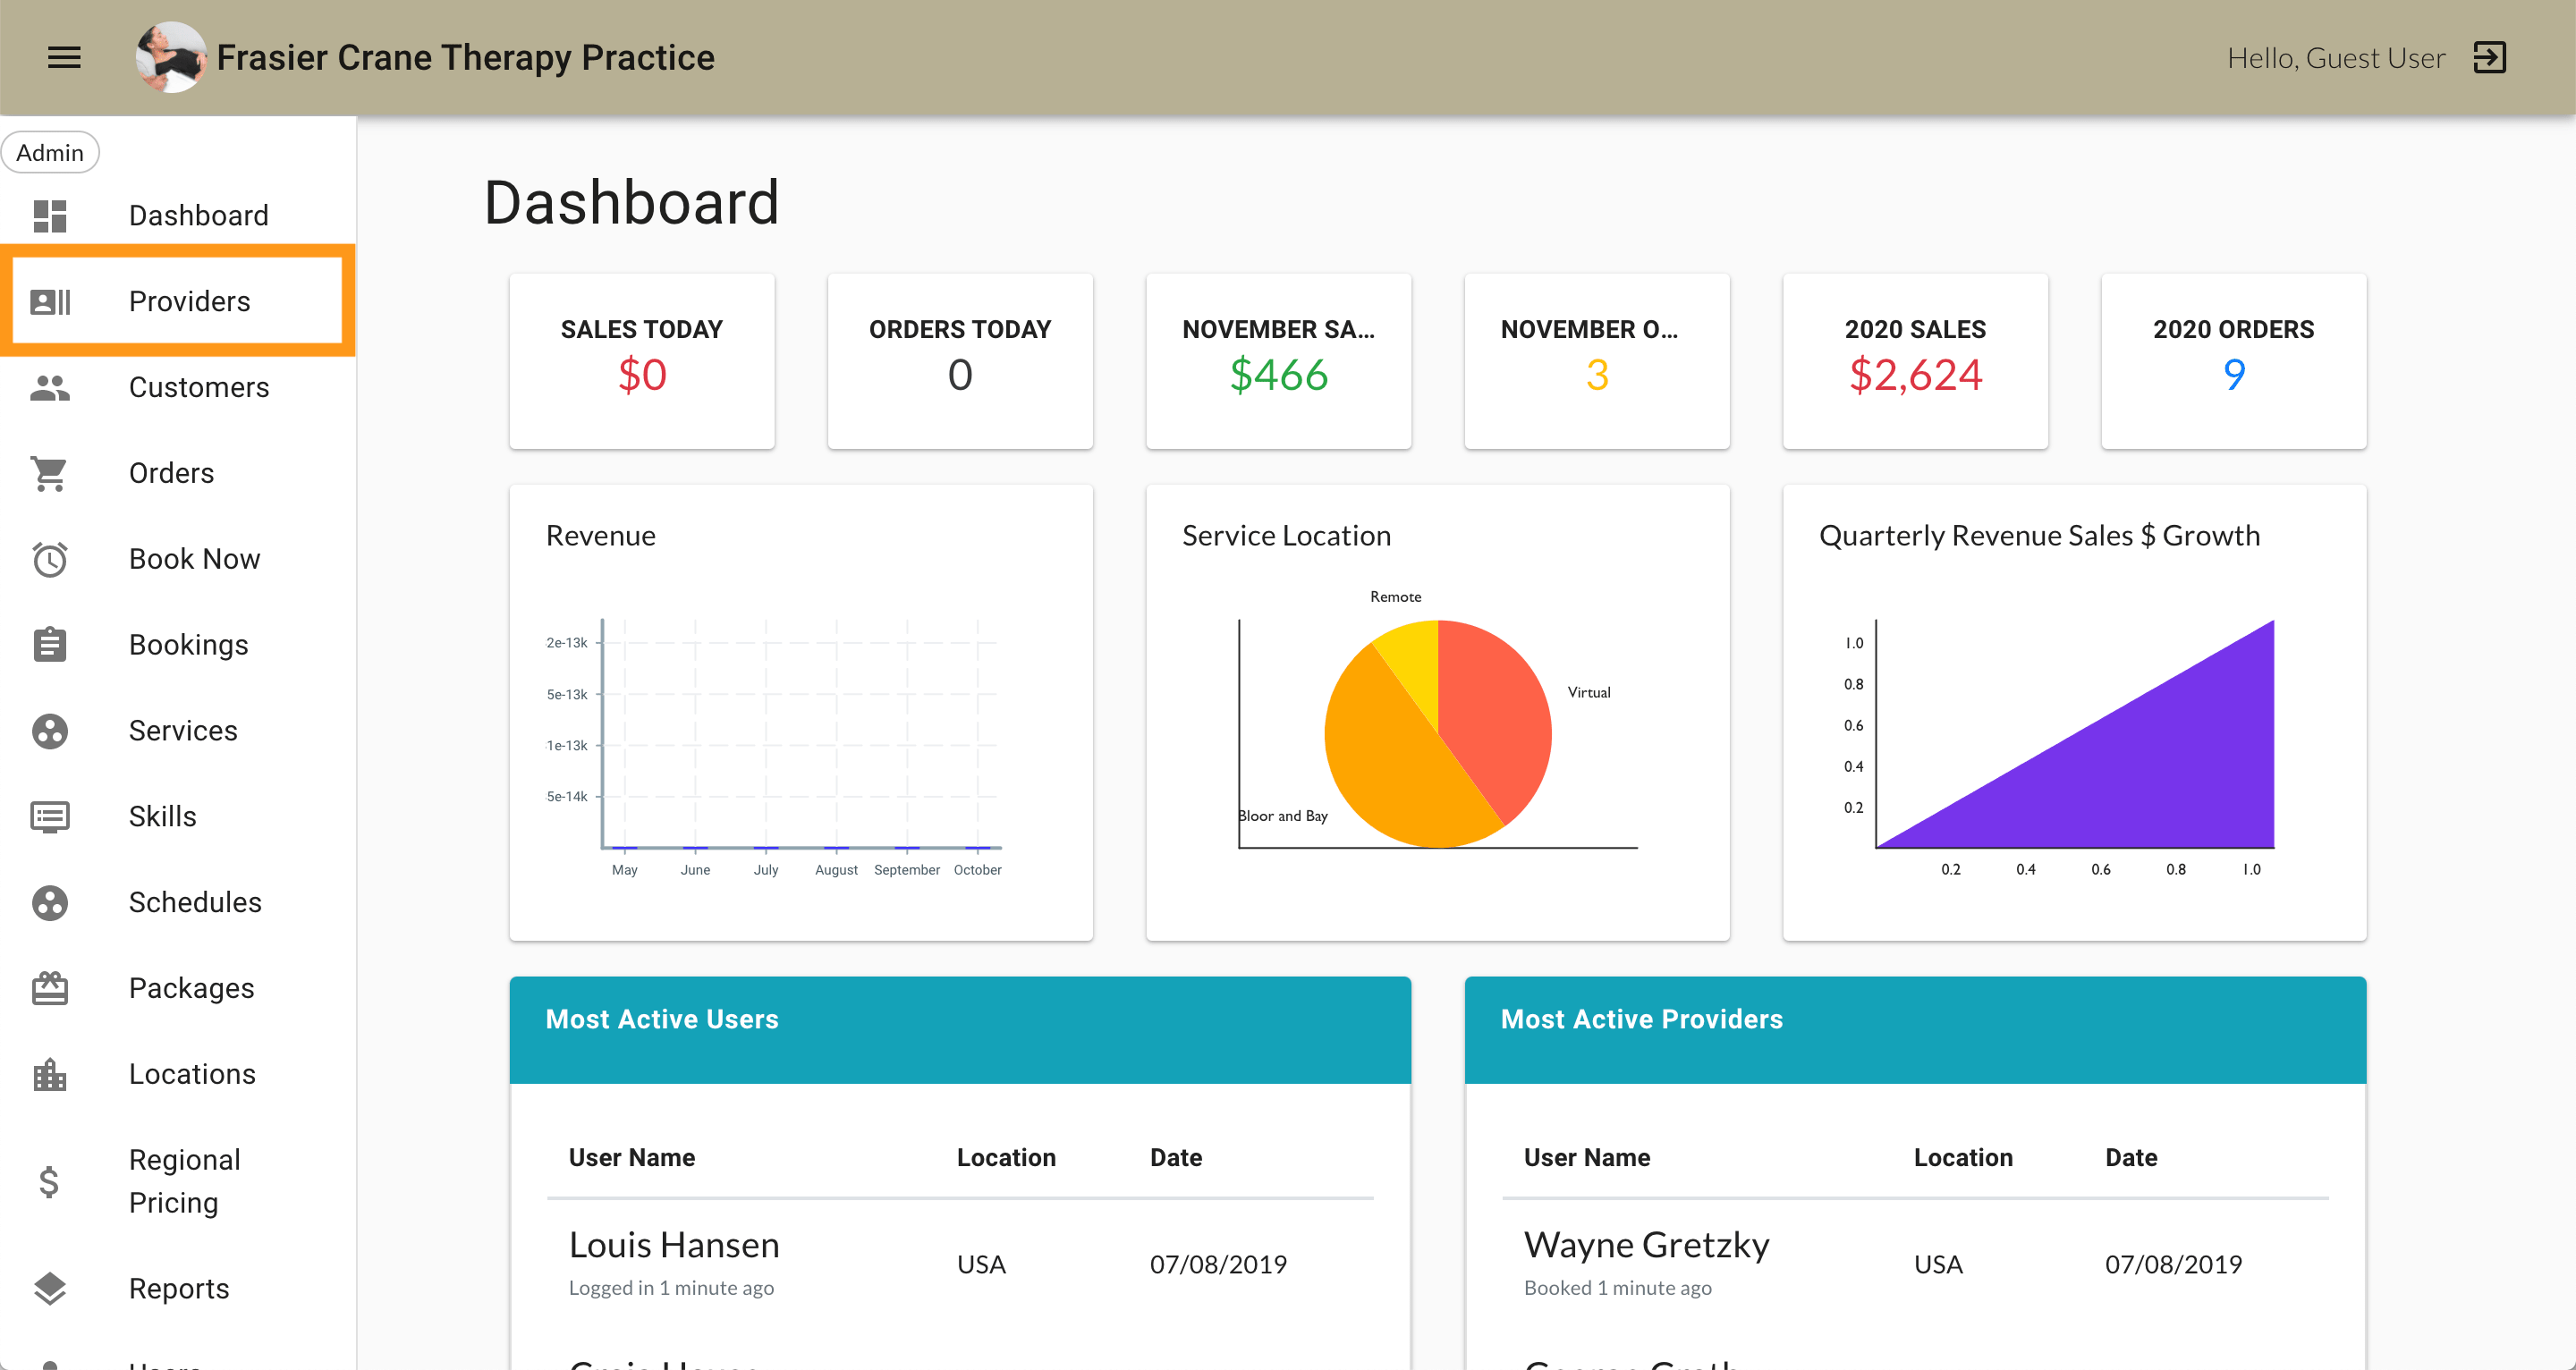
1. Go to Providers (link is in the top left of the navigation bar), select Add at the top right of the page.

2. Add profile info (name, phone #, skills, travel zones/locations, etc.).
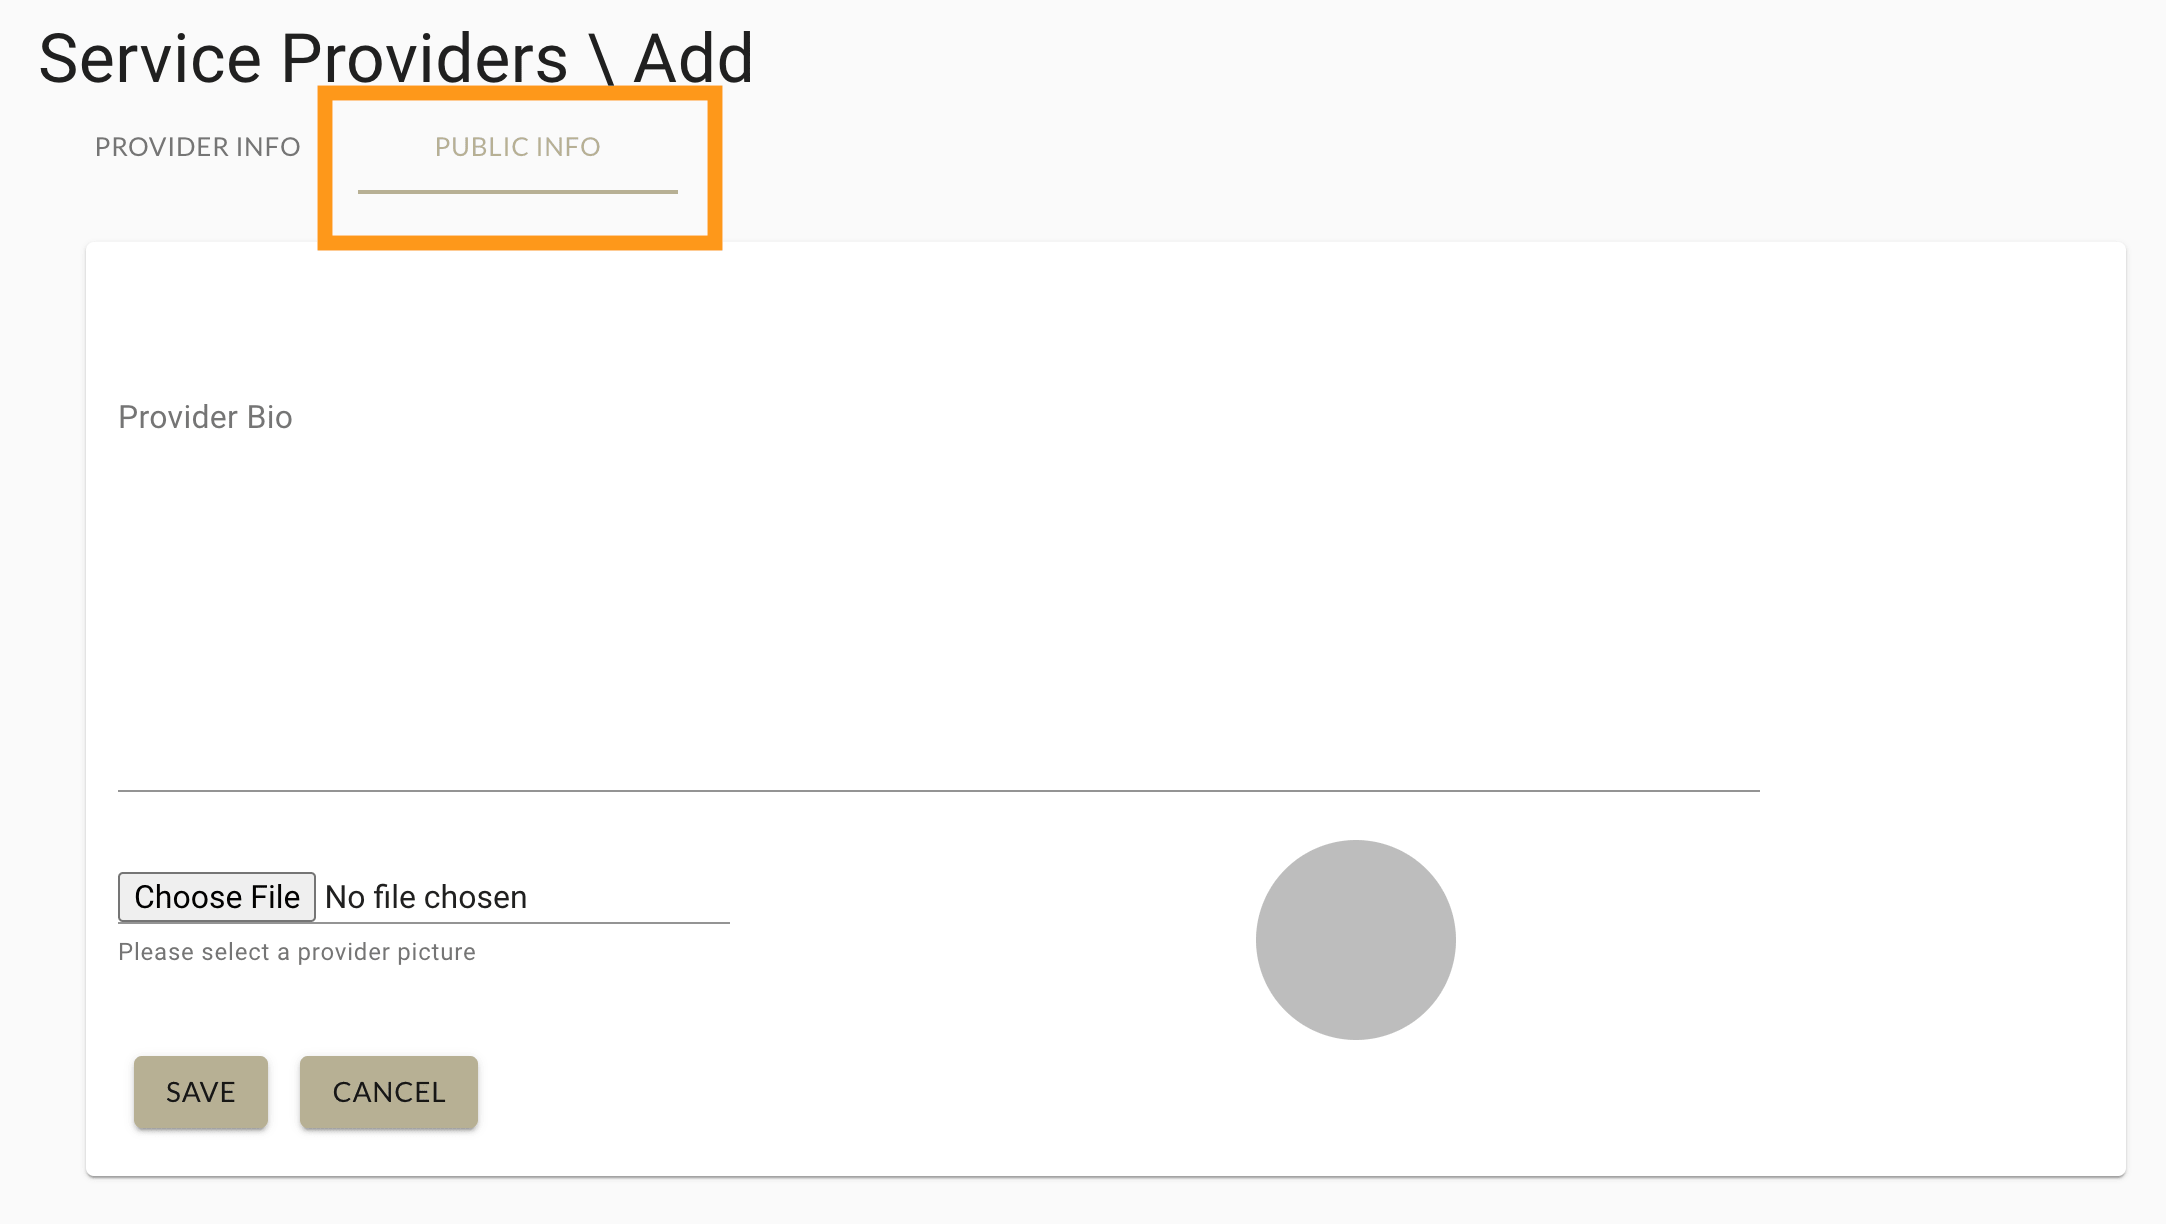
3. Add public info (bio and picture).

4. Add travel zones (this is optional).
5. Add availability.
At least one set of availability must be set for the provider to be available for bookings.
If the Provider is offering services virtually or at a company location, they can set up their schedule for those options here.
6. Add blocked times (optional). This function can be used if a provider has a day or time-slot they need to block off (such as a recurring lunch break, for example).
After these steps, you can now go through the booking flow and see what it will be like for customers booking with your service providers! As a refresher, here is what the customer booking flow looks like.
Method 2) Add a provider via the provider section
1. Go to Providers (link is in the Top-LeftNav Bar), select Add User at the top right of the page.
2. Add profile info (name, phone #, skills, travel zones/locations, etc).
3. Add Public Info (bio and picture).
4. Add Travel zones (this is optional depending on if the Provider offers remote services).
5. Add Availability.
You should then add the provider as a user after following these steps.
Please note that Method 1) is the preferred way to add providers, clients, and admins!
